I mentioned back in March that I was planning on entering the Simplicity star sewer blogger challenge - I decided to enter the Best Dressmaker Project category. The challenge was to make up
New Look pattern 6145 (which was very kindly sent for free).
At first I decided to do view A using some fabric I bought in Vietnam which is a bright teal coloured broderie anglais. I liked the look of the softly pleated sleeves and the simple neckline. Then to change it up a bit I wanted to add a front pocket similar to a
RTW tunic I'd seen.
I chose to make a size 12 using the fit help section of the Simplicity website.
I made the pocket by cutting the front piece in two, adding seam allowances to the cut edges and then constructing two horizontal in-seam pockets. I also shortened the dress by 12cm because I'm pretty short and I thought I would wear it more if it's more a tunic length, but maybe not so short that I couldn't wear it with thick tights and boots if I wanted.
Here is the first incarnation. I wore it out once like that with jeans but decided that the sleeves looked too big and puffy and 80s for my liking.
Here's a close up of the sleeve - do you see what I mean? Frances is all about puffy sleeves at the moment because that's apparently what princesses wear, but they don't suit my head. So I ripped them off and used the sleeve pattern for view D to cobble together a sleeve from the puffy ones.
And here it is with the less puffy sleeves. I'm really pleased with the length, I think it looks pretty good with jeans.
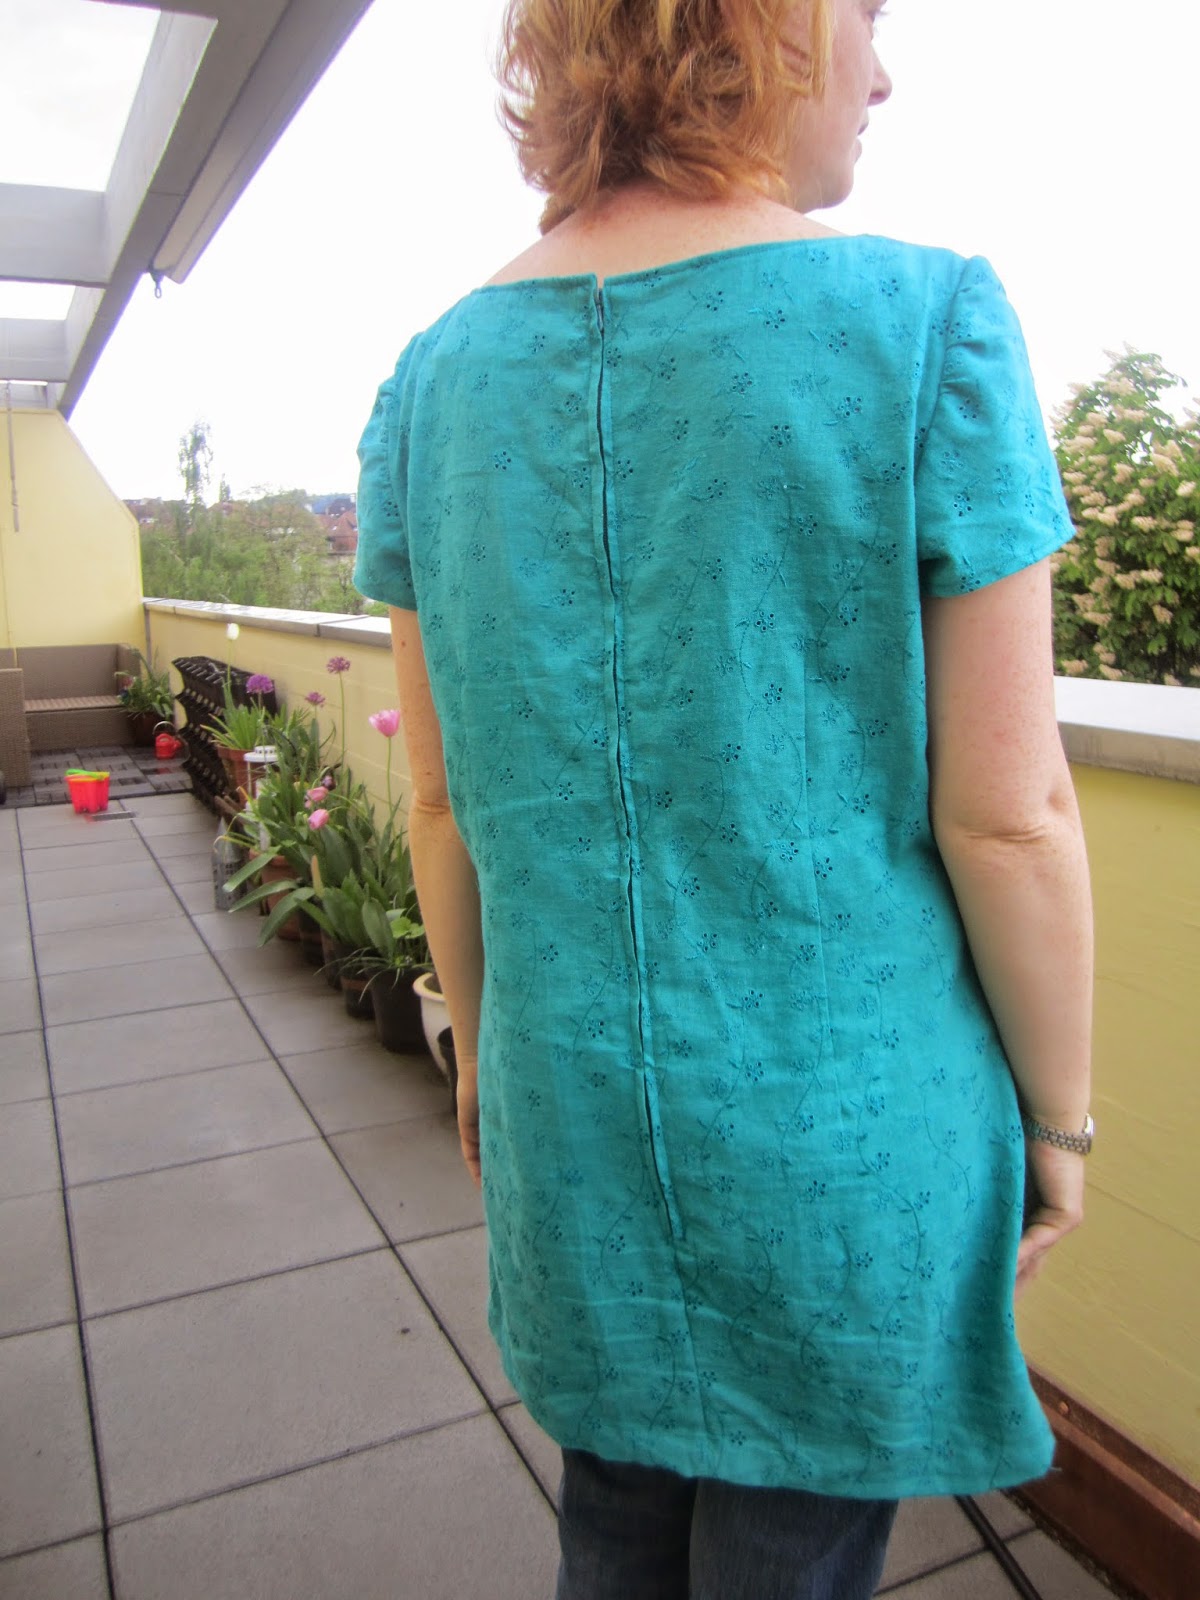
Here's the back - I'm not sure why there's such a long zip called for - I didn't put it in invisibly as I don't have the right foot for my machine (it's now on my wish list though!), but it's not necessary - I can pull it on and off over my head no problem without unzipping. Note to self - always measure the head hole before cutting out as I could have saved the complete back seam if I'd been awake a bit more. Oh, I didn't do the back vent either - I thought without made it look more tunic-like.
The pockets work well too...
The sizing is comfortable, although as you can see in that photo there's a bit of a gape at the front neck, there's also a little at the back, but not so much. I wonder if I'd cut out a 10 bust and graded to a 12 waist (which is what I usually do, but I was persuaded otherwise by the Simplicity fit guide) this wouldn't have happened, or if I actually need to do a neck adjustment another time.
And here's a photo with boots and tights, just because I mentioned it before.
Inside - I'm looking for ways to improve the neatness of the insides of what I make without buying a serger. On this piece I bound the armhole/sleeve head seam with self-made bias-binding. The other seams are tuned and stitched.
I've worn it a couple of times already - so that's a good win for me :-)